No items
in basket
Published: 27/06/2025
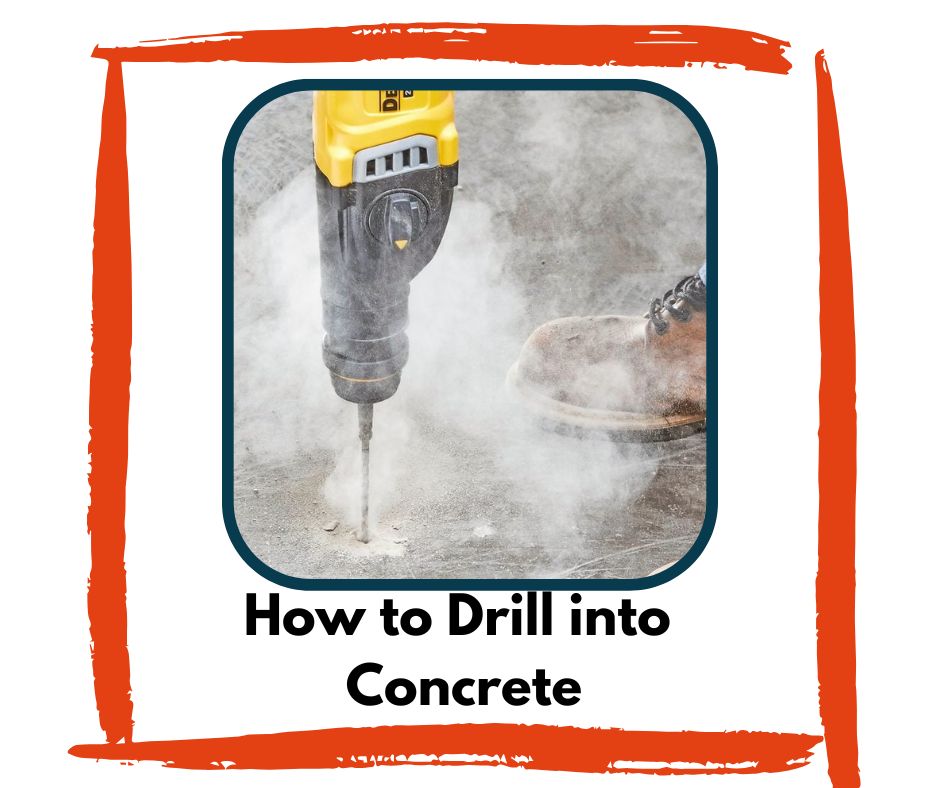
How to Drill into Concrete
How to Drill into Concrete
Drilling into concrete can be a daunting task for many DIY enthusiasts, especially if you’re more familiar with working on wood or plasterboard. Concrete is one of the toughest and most unforgiving materials you’ll encounter in home improvement, which is why you need the right tools, knowledge, and technique before you even attempt to drill.
Whether you're hanging heavy shelves, securing a bracket, or mounting an outdoor fixture, learning how to drill into concrete properly is essential to achieving a long-lasting and safe result.
In this complete guide, we’ll break down everything you need to know to tackle the task confidently, including how to select the right bolting tools, what screws or bolts to use, how to drill accurately and safely, and how it compares to working with other common materials.
Concrete vs Other Materials: What Makes It So Different?
If you’re used to DIY jobs involving drilling into wood or plasterboard, drilling into concrete will feel like a very different challenge.
Where materials like wood or drywall are soft and easy to penetrate with basic tools, concrete is dense, heavy, and extremely hard. Standard cordless drills or general-purpose screws that work fine in timber simply won’t get the job done in concrete -and trying to force them through can damage both your tools and your wall.
Unlike softer materials, concrete doesn’t “give” or self-correct, meaning you’ll need more purpose-built equipment.
For example, when working with drywall, you might use a simple wall plug or toggle bolt and be done in minutes. But with concrete, you’ll need a hammer drill or SDS drill, masonry bits, and robust fixings like anchor bolts or sleeve anchors to ensure your installation is secure.
The level of resistance concrete offers means that bolting into it takes longer and demands more care, but the results are worth it.
Once installed properly, concrete fixings are some of the most durable and load-bearing in any DIY setup - making them ideal for long-lasting shelves, outdoor fittings, or anything that needs real staying power.
By understanding how concrete behaves in comparison to other materials, you can avoid common mistakes, choose the right bolting tools, and get better results from your project.
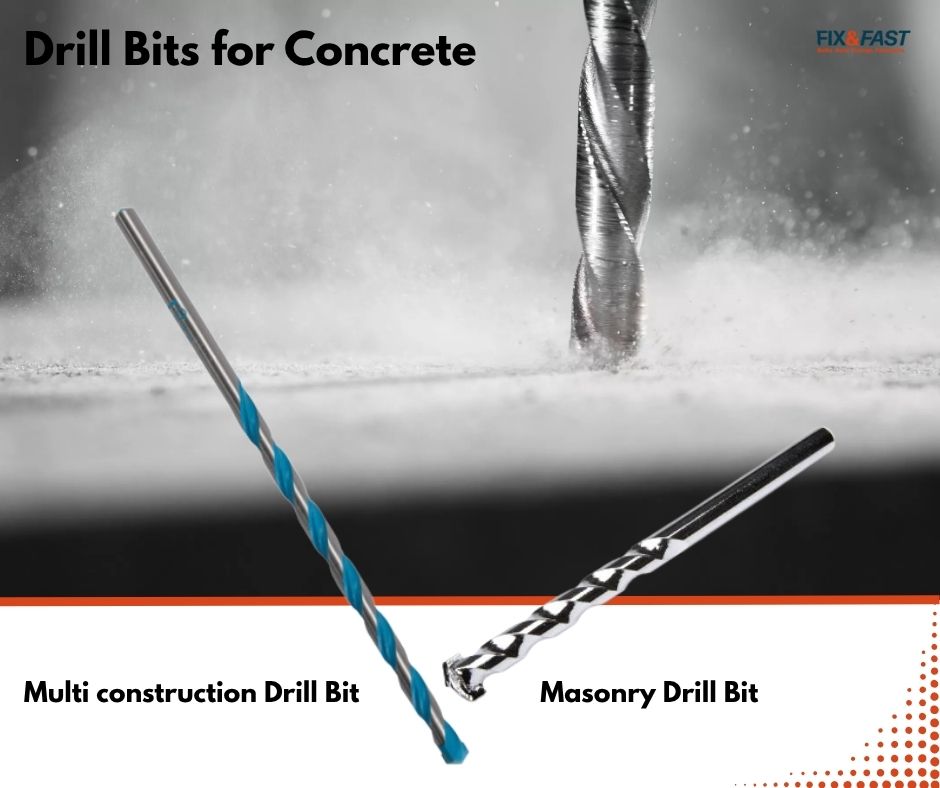
Which Drill Bit is Best for Drilling into Concrete?
When it comes to drilling into concrete, using the right drill bit is essential for both efficiency and safety.
Masonry drill bits are the standard choice—they're specifically designed with a hardened steel shaft and a carbide tip that can withstand the abrasiveness of concrete, brick, and stone.
These bits work best when used with a hammer drill, which adds the necessary impact force to break through tough surfaces.
For even greater versatility, a Multi Construction drill bit is a good option. Engineered for multi-material use, it performs exceptionally well in concrete while also handling tile, wood, and metal with ease.
Its carbide tip stays sharper longer, and the advanced flute design helps remove dust efficiently, reducing bit wear and improving drilling speed.
For DIYers or professionals who want one bit that can do it all - including concrete - We recommend the Bosch Multi construction drill bit as a smart, high-performance choice.
How to Drill into Concrete: Step-by-Step Instructions
You've selected the correct drill bit and it's time to get to work.
- Mark the Spot Carefully
Use a pencil, chalk, or painter’s tape to mark exactly where you plan to drill. For heavier items, make sure you measure and level accurately.
Take into account the position of pipes and electrical wiring behind the surface - invest in a wall scanner or cable detector if needed.
- Insert the Correct Drill Bit
Fit your hammer drill or SDS drill with a suitable masonry bit. Double-check that it matches the size of the screw or bolt you’ll be using. If you're planning to insert a wall plug, the hole should be just slightly smaller than the plug to ensure a snug fit.
- Drill Slowly and Steadily
Start your drill at a low speed to help position the bit accurately. Once it starts biting into the surface, you can gradually increase speed and apply firm, steady pressure. Avoid pushing too hard -let the hammering action do the work.
Drilling too aggressively can cause overheating or bit breakage, especially in dense concrete.
- Stop and Clear the Hole
Concrete dust can accumulate quickly inside the hole, so pull the drill bit out every few seconds to clear it. Use a hand vacuum, small blower, or simply tap the hole gently to remove dust. This step is crucial to ensure a secure fixing.
- Insert the Wall Plug or Anchor
Once the hole is clean and at the correct depth, insert the wall plug or anchor. This will expand as you screw in, creating a strong hold inside the concrete. Make sure it's flush with the wall and doesn’t protrude.
- Fix Your Screw or Bolt
Finally, position your screw or bolt and drive it in using a drill driver or wrench. Be careful not to overtighten—it could crack the concrete or shear the fixing. Once installed, give it a gentle pull to ensure a secure hold.

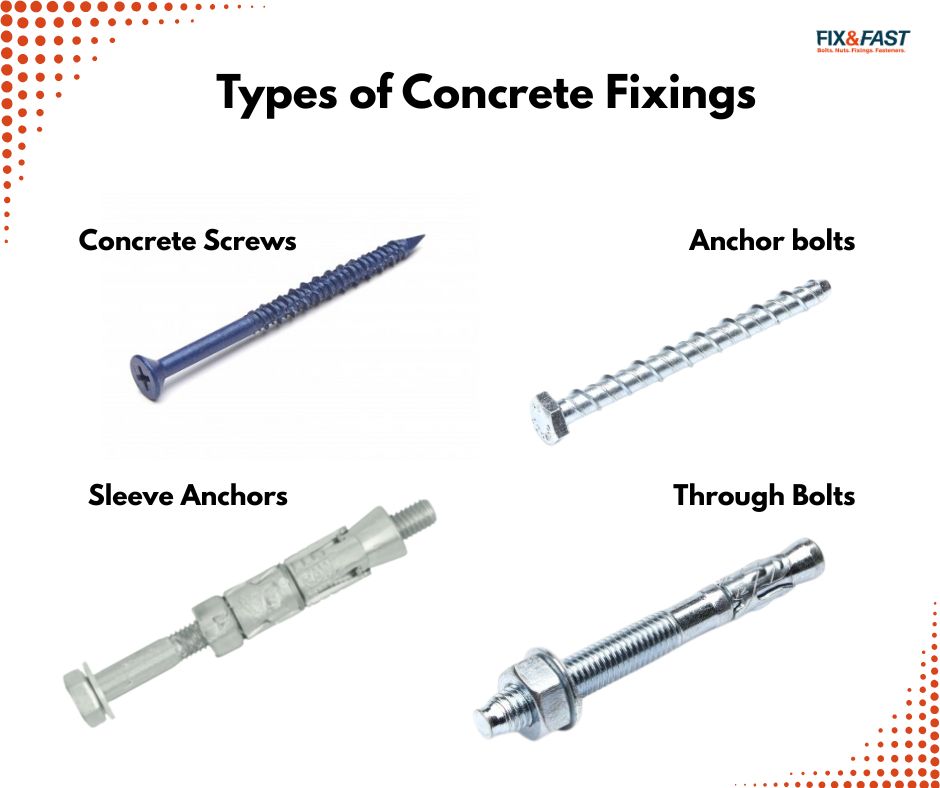
Choosing the Right Screws and Bolts for Concrete
Different jobs require different types of fasteners. Choosing the right concrete fixing can make the difference between a lasting installation and one that fails under pressure. Here’s a breakdown of common choices for bolting into concrete:
Concrete Screws: Concrete screws are ideal for lighter applications such as shelving brackets, curtain rails, or electrical boxes. These often come with a corrosion-resistant coating and don’t require wall plugs
Anchor Bolts: Also known as excalibur bolts, thunderbolts or ankerbolts. The undercutting action provides a positive anchorage with no expansion forces. The wide range of types and sizes gives flexibility of choosing the correct anchor according to the fixture thickness
Sleeve Anchors: These expand as the bolt is tightened, securing themselves in the hole. They are perfect for external use or high-vibration environments.
Through Bolts: Suitable for large loads, these are often used in industrial applications where maximum holding power is needed.
Extra Tips for Drilling into Concrete
Drilling into concrete isn’t just about force -it’s about technique. Here are some additional tips to help you get the job done more effectively:
Use a Pilot Hole: For larger bolts, start with a smaller drill bit to make an initial pilot hole. This improves accuracy and reduces strain on your drill.
Drill Deeper Than the Screw: Always drill a little deeper than the length of your screw or bolt to ensure full insertion and to allow dust to settle.
Keep Your Bits Sharp: Masonry drill bits wear out over time. If your bit starts smoking or struggles to cut, it’s time to replace it.
Avoid Drilling Near Edges: Stay at least 2 inches from the edge of a concrete surface to avoid cracking or spalling.
Work in Bursts: Let your drill cool down between holes to prevent overheating and tool damage.
Drilling into concrete is a skill every serious DIYer should learn -and once you understand the process, it’s surprisingly manageable. By recognising the key differences between concrete vs other materials, equipping yourself with the right bolting tools, and using the correct screws or fixings, you’ll be able to tackle any concrete project with confidence and efficiency.
Whether you’re mounting shelves, fixing outdoor fixtures, or tackling a renovation, using the right approach makes all the difference. So take your time, stay safe, and always use the best tools for the job.

Thousands of Fixings & Fastenings
Delivered straight to your door

Free UK Delivery
On all orders over £50*

Same day dispatch
Order before 3pm Monday - Friday
We accept the following payment methods:

Opening Hours
Monday - Friday: 8am - 5pm
Saturday & Sunday: Closed
